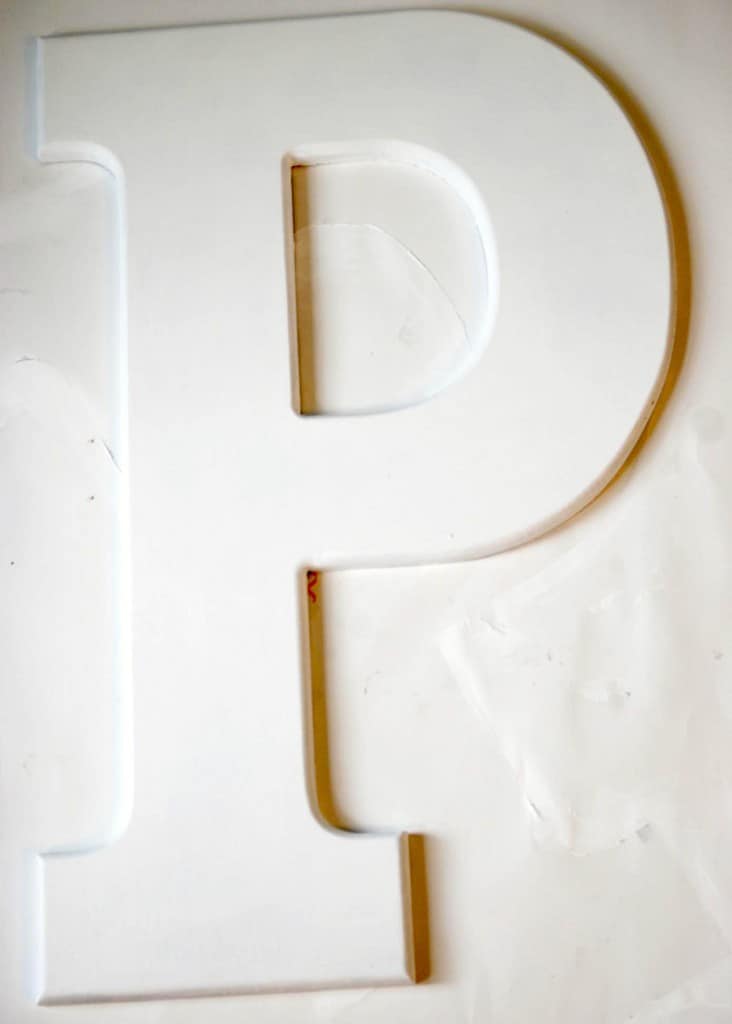
I recently whipped up some DIY wall art using a giant letter P that my mom gave me. I thought it would be perfect for Pearl’s room, but I needed to jazz it up a bit. We will be switching our girls around soon and Pearl will transition out of the nursery since she’ll be 3 in a few months, so I wanted to make something that could go with her. I had a bunch of tissue paper on hand and came up with the idea of making confetti to adorn the P and I think it turned out great!
How do you make a DIY Wall Letter? First, brush a layer of Mod Podge on your letter. Then, layer on tissue paper confetti. Brush another layer of Mod Podge on top of the tissue paper. Allow it to dry before hanging on the wall.
I love monogram letters for kids rooms. I recently made a DIY letter Wall Art Using Cane Webbing for my son’s room and I’m obsessed with how it turned out. This DIY Wall Letter project is a little less involved than the cane webbing letter, but it’s equally as cute.
You could easily switch out the colors of confetti to fit any theme or scheme of the room you are decorating. This would be cute in gender neutral colors, or blues and greens for a boy’s room. It would also be adorable to have two of these letters hanging above beds for a shared kid’s room. I could have done this in my shared room for sisters makeover!
Materials Needed For DIY Wall Letter
For this project, you will need:
Instructions For How To Make DIY Wall Letter Using Confetti
1. First, paint your letter white, if necessary.
The letter was red, which definitely does not coordinate with Pearl’s room, so I gave it a fresh coat of white paint first before starting.
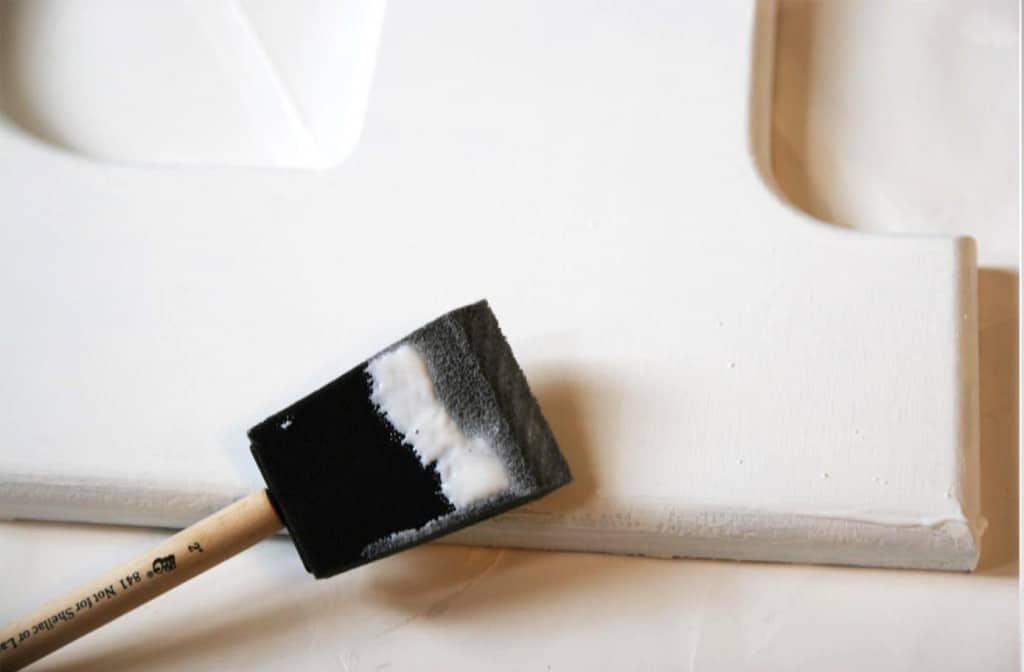
2. Then, brush on a layer of Mod Podge.
You can use either matte or glossy, I used glossy because that is what I happened to have. You want to work in small sections, so just brush on the Mod Podge to a small section at a time.
3. Then start layering on your confetti.
I used a dime sized circle punch to make my own, but I’m sure you could buy it from a party store. I liked being able to customize the colors myself and I had tons leftover that I can use for another craft!
4. Brush another layer of the Mod Podge on top of all the confetti to make everything stick.
I decided to space mine out more and more towards the bottom.
Love it! The P is a few feet tall, so it definitely makes a big impact and it can transition well to a big girl room which she will be moving into soon. Go craft something up with confetti now and let me know how it goes!
*This post contains affiliate links


