I recently tackled painting my front door. We needed a new one for a long time and had to wait until the weather was just right to install the new door. The door we chose was already primed, but I wanted to paint it in a way that would last for a long time. Even though I had painted a front door before, I took a few extra steps in prepping my door ahead of time to guarantee a successful painting job.
There are some important steps to take in order to prepare your front door for painting. It’s important to choose the right paint color and type of paint. You also need to take your time in sanding and properly cleaning your door as well as prepping your area for paint. If you are painting a wood door, you will need to give it a coat of primer first before applying your exterior paint. Taking these steps will help you succeed in painting your front door yourself.

Why is it important to prepare your front door before you paint it?
Your front door gets a lot of use and wear throughout it’s lifetime. It’s important to take extra measures to ensure a paint job that will last. Another reason to properly prep your front door is that they can be quite expensive. If you have gone to the trouble of picking out, purchasing and installing a new front door, don’t skimp on the paint job! Depending on what type of door you have, taking a few additional steps before you start painting it will leave you satisfied with a great paint job that will look professional and last for a long time.
Steps For Prepping A Front Door Before Painting It

1. Choose The Perfect Color For Your Front Door
Choosing a color might be the most difficult part of this entire process. I know that I am always very intimidated when choosing a color for the exterior of my home. I have made the mistake in past of picking out a color at the store, and getting the paint mixed on the spot, only to be disappointed with the color when I got home. Then, you are left with painting a your front door a color that you aren’t totally sure about, or wasting your money because you need to get another quart of paint.
In order to choose a color that you will be satisfied with, drive around your neighborhood and look at homes that are similar to yours. Pay attention to the front door colors that you are drawn to. After you have decided on a general color, head to Pinterest and search do a search (for example “gray front door”) and see what jumps out at you. A lot of the search results will have specific colors listed.
Once you have landed on a few specific (or general) colors, get some paint chips from the store. Tape them to your door to see what they look like at different times of the day. If you are still undecided, get a few samples mixed and actually paint them onto your front door. This process will help you confidently choose the perfect color and weed out the ones that don’t work for your particular home!

2. Select The Type Of Paint That You Need
There are a few different options for type of paint that will work for your front door. As a general rule of thumb, semi-gloss is usually recommended for painting doors and trim. Semi-gloss paint is easy to clean yet it doesn’t show as many imperfections as high gloss paint.
I tend to prefer latex exterior paint because it makes cleaning up much easier. Some people prefer oil-based paint for exterior jobs because it may result in a more durable finish (as discussed in this article from Stanford Painting). However, if you are not experienced in using oil-based paints, a standard latex exterior paint should work just fine for your front door.

3. Sand Your Door (if necessary)
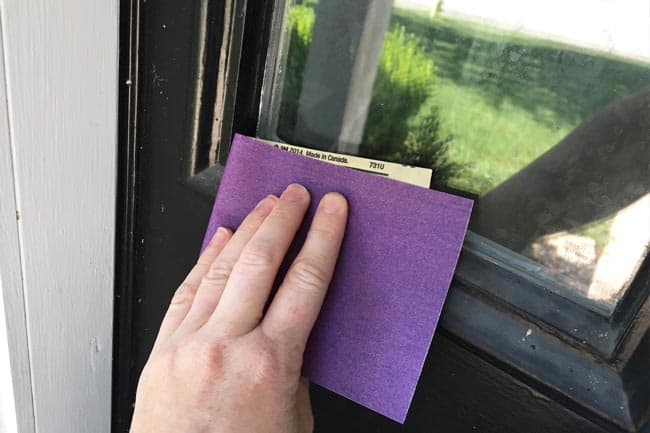
If you are painting a door that has a wood finish and is not primed, you will need to sand it first. If the door has a varnish or coating on the wood, an electric sander will make the sanding job go much faster.
If you are painting a door that has already been painted, especially if the paint is old or flaking off, you will probably want to sand it as well. You want your surface to be nice and smooth before applying your paint. If the door is new and only has primer on it, you don’t need to sand it.

4. Clean Your Door
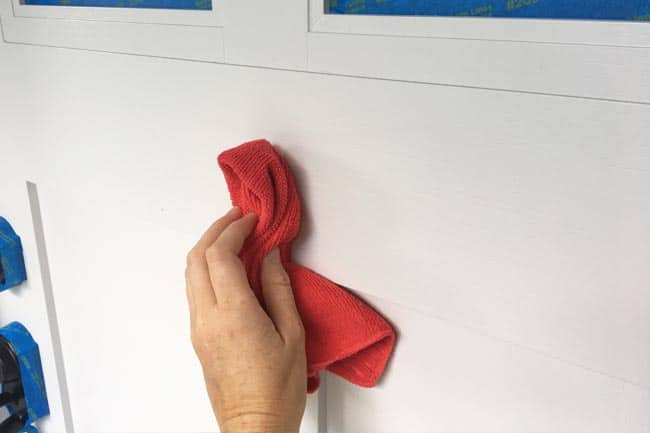
It’s very important to clean your front door before painting it, whether you have sanded it or not. If you have sanded your door, use a shop vac to vacuum up all of the sawdust out of any grooves. Then, clean it with a microfiber cloth. You can use some dish soap and water to remove any dirt or residue. Make sure you thoroughly dry your door after washing it.
If you are concerned that your door still might have residue on it from sanding it or a previous paint job, wipe it down with mineral spirits on a soft cloth. Be sure to follow the instructions on the bottle for the mineral spirits.

5. Remove The Handle (optional)
For the most seamless paint job, you will want to remove the handles and any other hardware prior to painting. However, this is not required. I actually ended up taping my handle off and still was able to achieve a decent paint job, but a little bit of touching up was needed.
6. Fill Any Holes With Wood Filler
If you are painting an older door, it will probably be worth your time to fill any holes, cracks or imperfections with wood filler and a putty knife.

6. Tape Off Areas With Painter’s Tape
Use painter’s tape to tape off any areas surrounding the door that you don’t want to get paint on. This will include the hinges, door frame and handle (if you didn’t remove it). You also will want to paint off window panes if your door has them.

7. Prepare The Surrounding Area
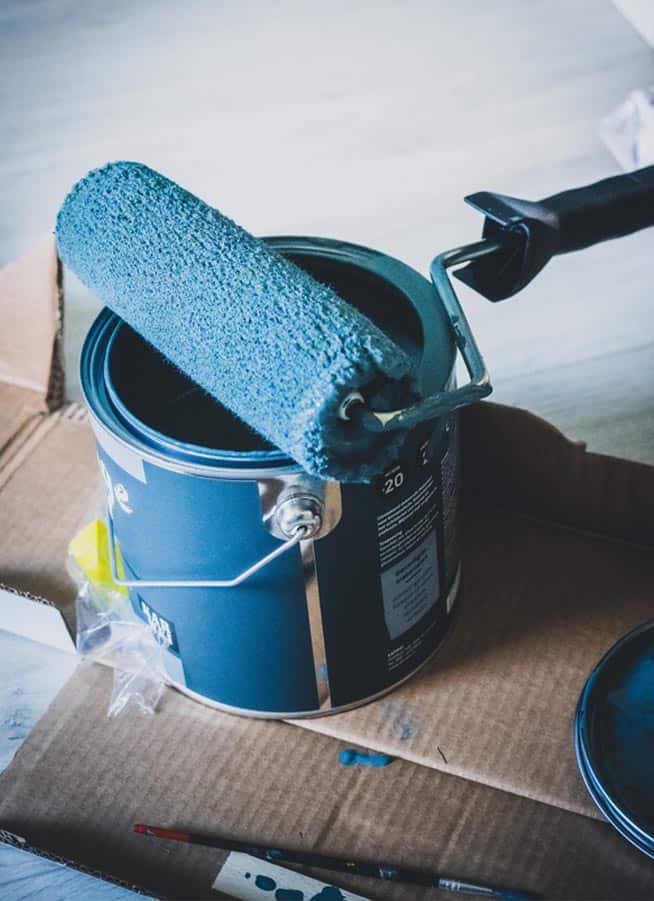
Make sure you lay down a drop cloth of some sort under your door before you begin painting. Also, set your paint cans and supplies inside of a cardboard box to keep any spills contained and for an easy way to move your paint can with you as you need it.
8. Prime Your Door
Lastly, if you are painting an unfinished wood door, you will want to prime it first before painting it. Use a good primer like Zinnser. Primer dries faster than latex or oil-based paint, so you won’t have to wait too long before you can get started on painting.

Now you are ready to start painting your front door! Hopefully if you follow these steps, you will have a beautiful front door that you can be proud of!

