
This post is part of a social shopper marketing insight campaign with Pollinate Media Group® and Newell Rubbermaid , but all my opinions are my own. #pmedia #stockup4schools http://my-disclosur.es/OBsstV
If you need an easy pillowcase craft for kids to do at a sleepover or school party, then try making some watercolor sharpie pillowcases. These are so easy yet they turn out beautifully every time! Mom or Dad might even want to get in on the action to make some for themselves too. This is a craft that kids will want to keep year after year!
How do you make an easy pillowcase craft for kids? All you need to do is color the pillowcase with permanent markers, apply rubbing alcohol and let the colors bleed together. The end result is a beautiful pillowcase to display on your bed.

I wanted to make a fun craft with my kids so we made some DIY pillowcases using Sharpies. I thought that maybe they would be excited to go to bed on time if they were able to lay their heads on their new watercolor pillowcase creations! Yes, I’m sneaky like that. So if you need a quick project this week, or any time of the year, look no further! These watercolor pillowcases were created with Sharpies that can be found at Staples and look so beautiful. I absolutely am loving how they turned out!
Materials Needed To Make A Pillowcase Craft For Kids
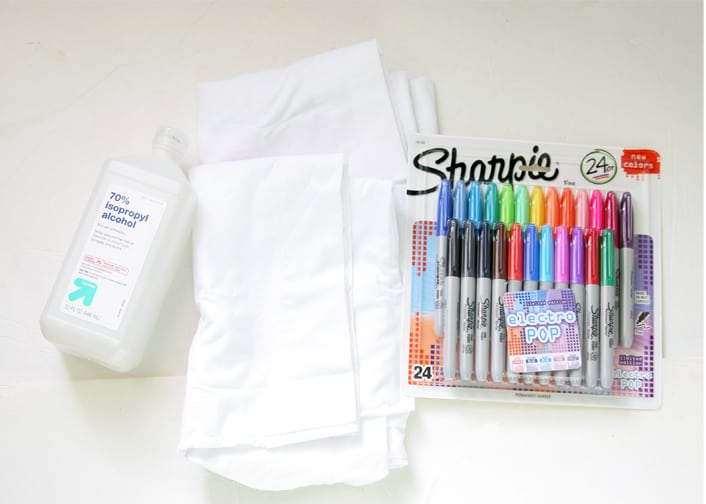
Here’s what you will need to make your DIY pillowcases:
- Rubbing Alcohol
- Sharpies (scroll to the bottom to find out how to get some on sale at Staples!)
- White Pillowcases
- Spray Bottle

Instructions For Easy Pillowcase Crafts for Kids
Step 1: Color the pillowcase with the Sharpies.
After a little trial and error, we figured out that the more heavy and saturated the Sharpie application, the better it will bleed later to create the watercolor effect. You can definitely leave some areas white as well.
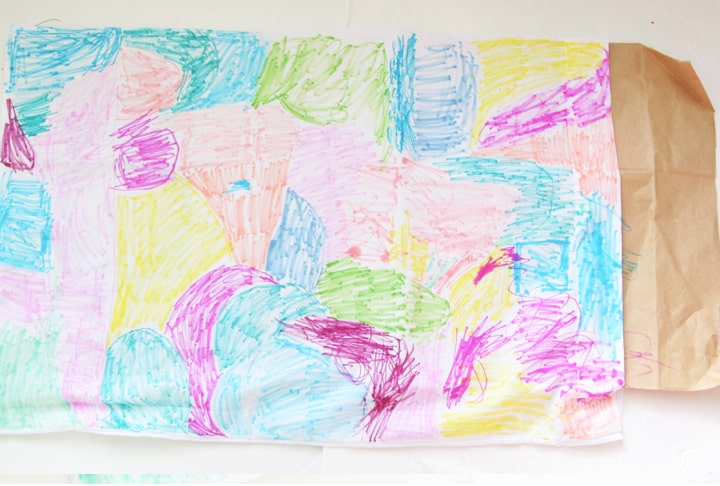 This is what the first one looked like after the girls were finished coloring it. I did go back in and make some areas darker with the Sharpies before applying the alcohol. Insert a paper bag inside to make coloring easier.
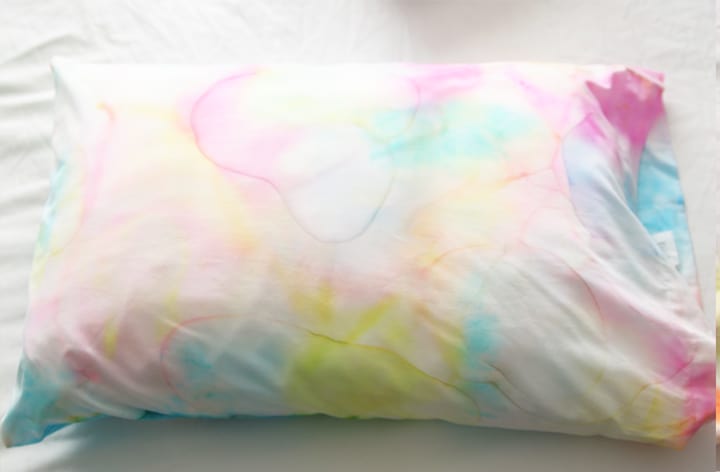
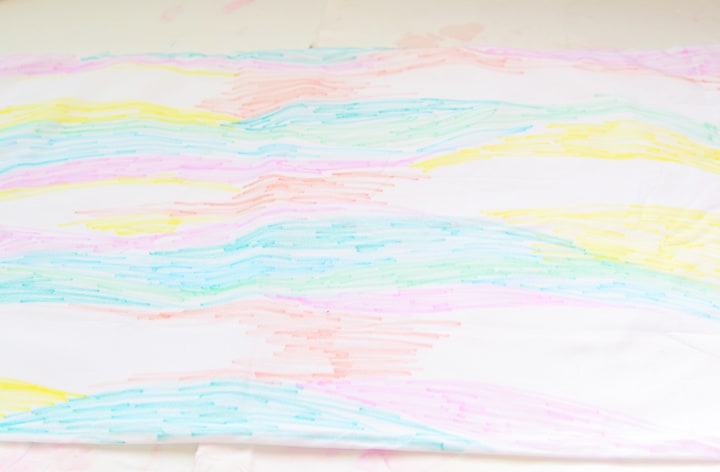 We experimented by making the second pillowcase with lighter colors and leaving more areas of white. Again, I went back in and darkened a few spots with the Sharpies.
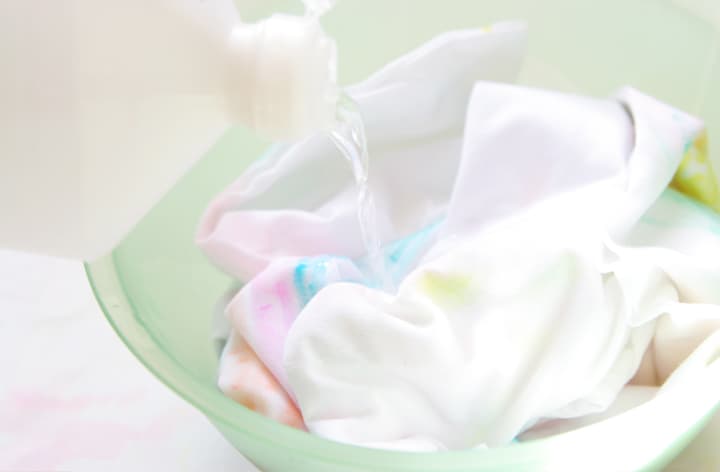
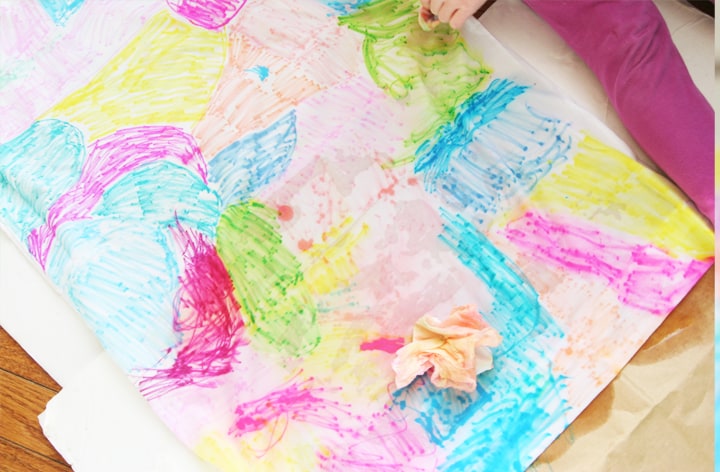 Step 2: Begin applying the rubbing alcohol. Fill a spray bottle and saturated the pillowcase.
Make sure to do this in a well ventilated area or outdoors! As the pillowcase sits, the colors will continue to bleed.
 Step 3: After it is dry, you may want to add another application of alcohol to continue the bleeding process.
We tried pouring it directly on in a bowl and also pouring on alcohol to specific sections that we wanted to bleed a little more.
Step 4: Once it is fully try, set it with a hot iron for 5 minutes or throw it in the dryer for 20 minutes.
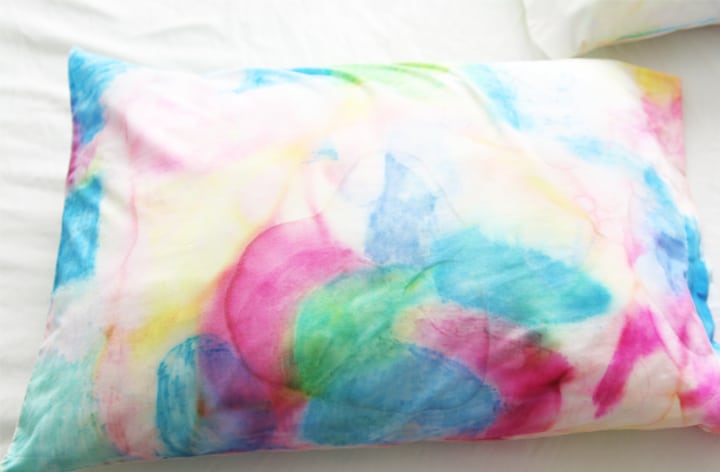
This will set the Sharpie and allow you to wash it without fading. I love how it looks after all of the fading and bleeding!
But we like the backside even more! The colors bled through to the back to create a very washed out watercolor effect.

This is the end result of the second lighter pillowcase. Love this one too!

How fun is this project!! I can’t get over how beautiful these look and the girls loved doing this as a back to school project after the holidays.
Check out some of my other kids projects!

