
I’m back with a tutorial…shocking!! I know, I’ve been so sporadic with blogging. I have made this excuse before, but life gets busy and blogging gets put on the back burner. The truth is, I love blogging but it is so competitive. In this Pinterest age, every photo must be magazine quality and there are a million DIY blogs out there. Sometimes it feels pointless. However, I love it. So, I am thinking through what this blog will mean for me in 2015. I don’t want to give up just yet. But, I know of several bloggers that are calling it quits. Young House Love being the biggest. I think a lot of people are feeling the same way. Once I compile my thoughts, I will share them. For now, I have a new tutorial. (with less than Pinterest perfect photos because the lighting in our bedroom is impossible)

I’ve seen these swiss crosses around for awhile and I love how minimal and simple they are.
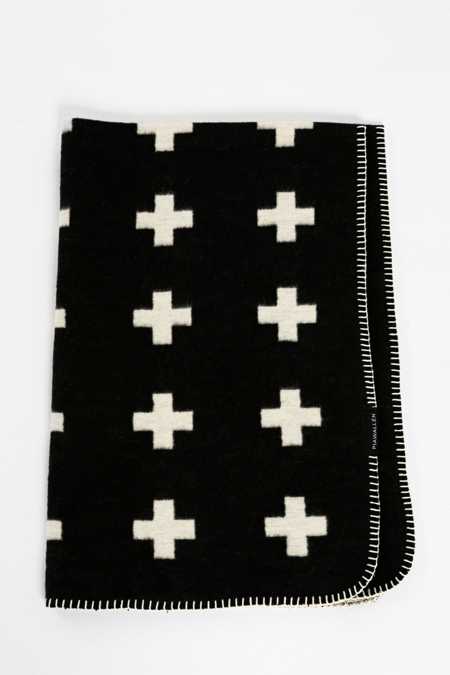
(throw from Urban Outfitters)

When we recently got a new bed (more on that soon!), I wanted to revamp some decor in our bedroom. In classic Homemade Ginger style, I didn’t want to spend any money and decided to reuse and repurpose some things we already had. I decided to use this frame to make my own version of the swiss cross pattern to bring into the room.
I started off with a large piece of poster board and measured out some general guidlines with a pencil.

Then, using a foam brush and some black paint, I started making my crosses. I wanted mine to have a looser brush stroke effect. To do this, make the middle of the cross first and then use less pressure to feather out the brush stroke a bit towards the ends of the lines.


I’m happy with how they turned out!

It was the most simple project ever!

I’m planning on doing a mini gallery wall and adding in some other elements. I will update you with the finished product!
