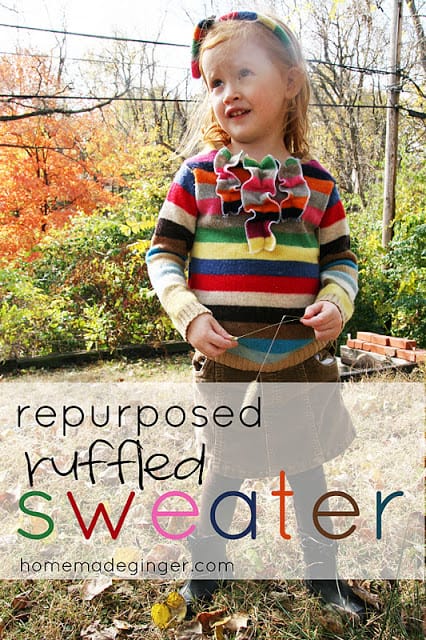
It’s Day 4 of the 30 day of repurposing project!
This is going to be a fun one.
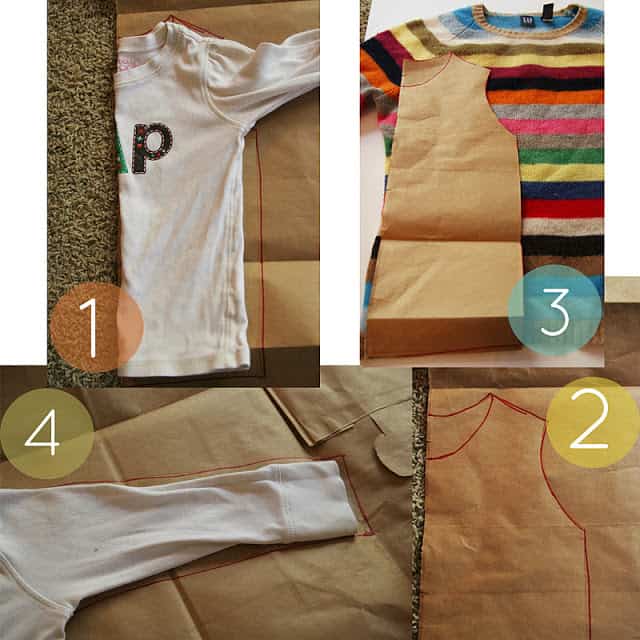
Step 5: Make sure the curve of the sleeve will fit in the curve of the armholes on the body part of the pattern.
Step 6: Cut out the sleeves on the fold of the sweater sleeve. Use the cuff of the original sweater for the cuff of the new sleeves.
Step 7: This is what the sleeves will look like when they are unfolded.
Step 8: This is what the body pieces will look like when unfolded.
Step 9: Sew shoulder seams, right sides together.
Step 10: Unfold and pin sleeves at the armholes, right sides together. Sew or serge.
Step 11: Fold down and sew along sides and sleeves.
Step 12: Cut off collar of original sweater. Pin it, right sides together to the new sweater, making it smaller and sew on. (not pictured, sorry!)
Now to make the ruffles. My sweater had a moth hole in the front, so I had to make something to cover it up. I was inspired by this tutorial from Make it and Love it and decided to try it.
Step 13: Cut 3 strips, one being longer.
Step 14: Gather your strips, then pin them on and sew down the center. (this is before I ripped out my gather stitch)
Step 15: Rip out your gather stitch and you are done!!
Jump up and down because you just repurposed a sweater!
I made sure to make the sweater on the large side so she can wear it longer.
And tomorrow I’ll be showing you how I made the coordinating headband!


